Winter Sowing Magic
Easiest seed-starting ever - let nature do the work for you!

If you haven’t tried winter sowing, get ready for your easiest seed-starting yet. I’m a lifelong gardener, yet my attempts at sowing seeds outdoors ranged from comic to calamitous.
Plant a seed and watch it grow. That’s what’s meant to happen. Have you ever read the book “The Carrot Seed?” Other than some patience, that little boy only needed to water his carrots and wait.
I chose “easy” seeds - ones that typically self-sow with abandon, like breadseed poppies, nigella, and calendula. I picked seeds adapted to growing in Seattle, in the growing conditions in my yard (sun, soil), and planted at the right time. However, like many first-time sowers, I didn’t take into account:
Root competition
Wildlife competition
Capricious weather
Forgetfulness
Did I offer the seedlings private lodging in fluffy, rock- and weed-free soil? No.
Did I protect the seedlings from the onslaughts of cutworms, slugs, moles, voles, rabbits, and birds, not to mention my own negligent feet? Nope.
Did I water every other day? Uh, no. I figured nature would take care of that, and failed to notice when she didn’t.
Those first emerging roots of seedlings are as delicate as gossamer. It only takes a day of inattention at this stage for them to shrivel and die of thirst.
Winter sowing protects against all of these things, which is why I’ve done it for three years running.
So what is winter sowing? It’s a technique pioneered by Trudi Davidoff, a home gardener who sought a fuss-free way to grow seeds outside.


You sow the seeds in a semi-enclosed container, which provides humidity, warmth, and a haven from critters. The best part? You plant in December through February when your hands are itching to get growing, and the containers sit outside and wait to sprout. Compared to growing inside, there’s much less watching of the weather, micromanaging watering, and no hardening off.
The seeds are generally tougher, stouter, and transplant better than seedlings grown indoors. You can also plant more than in conventional cell packs, where you’d usually plant 2-3 seeds per cell. Davidoff calls this the “hunk o’ seeds” method you sow thickly to transplant, simply cut sections out like brownies, and plant the clusters. It’s recommended to plant the seedlings young when they are only two inches high.
The trick to winter sowing is in selecting appropriate seeds. It’s designed to help sprout seeds with cold tolerance. Many seeds even require two or three months of cold “stratification” to trigger germination or to break down their hard seed coats. Winter sowing works fantastically for “hardy annuals”, “cool-season” annual vegetables, perennials, and biennials. It’s not meant for “warm-season” annuals, like tomatoes, basil, and zinnias, although it can be done with careful timing and babysitting.
As more people boost biodiversity in their yards by growing native plants to support pollinators, winter sowing is becoming a popular way to quickly bulk up your supply of native plants.
It used to be you could find native plants only at specialty nurseries or native-plant society sales. Nurseries are increasingly meeting this demand, offering more native plants and “nativars” (cultivars of native plants), but you can grow a much greater range of varieties by sowing seeds yourself.
The seeds follow their internal circadian rhythms; they may wait months to sprout. The containers should shrug off freezing temperatures, even snow.
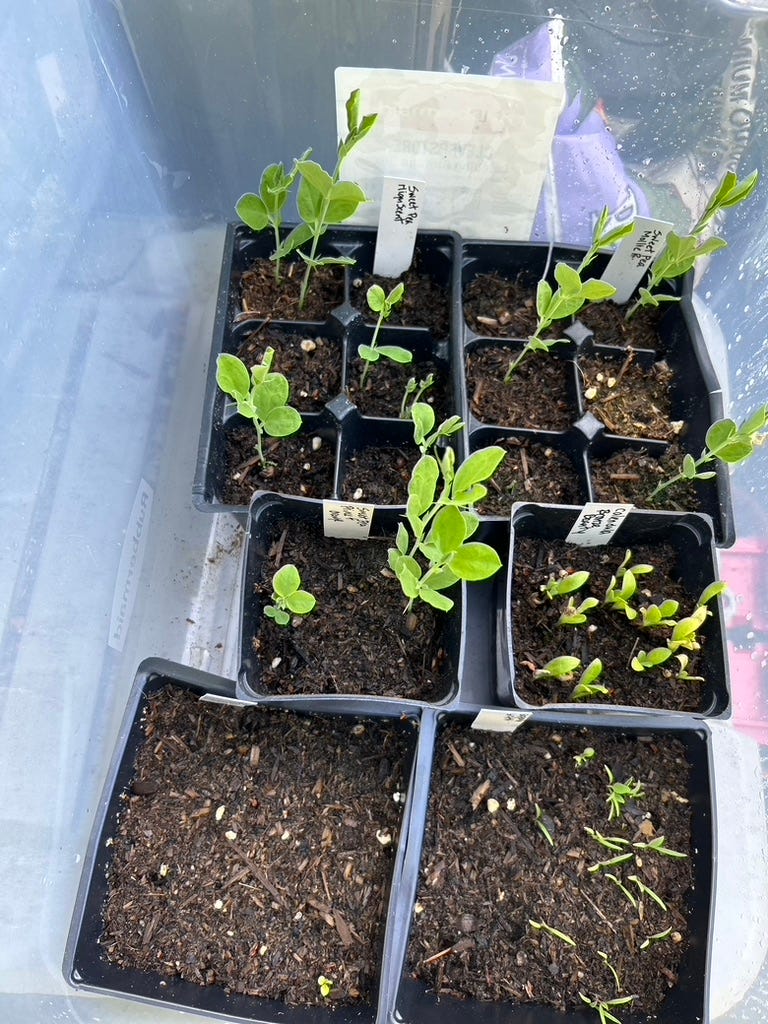
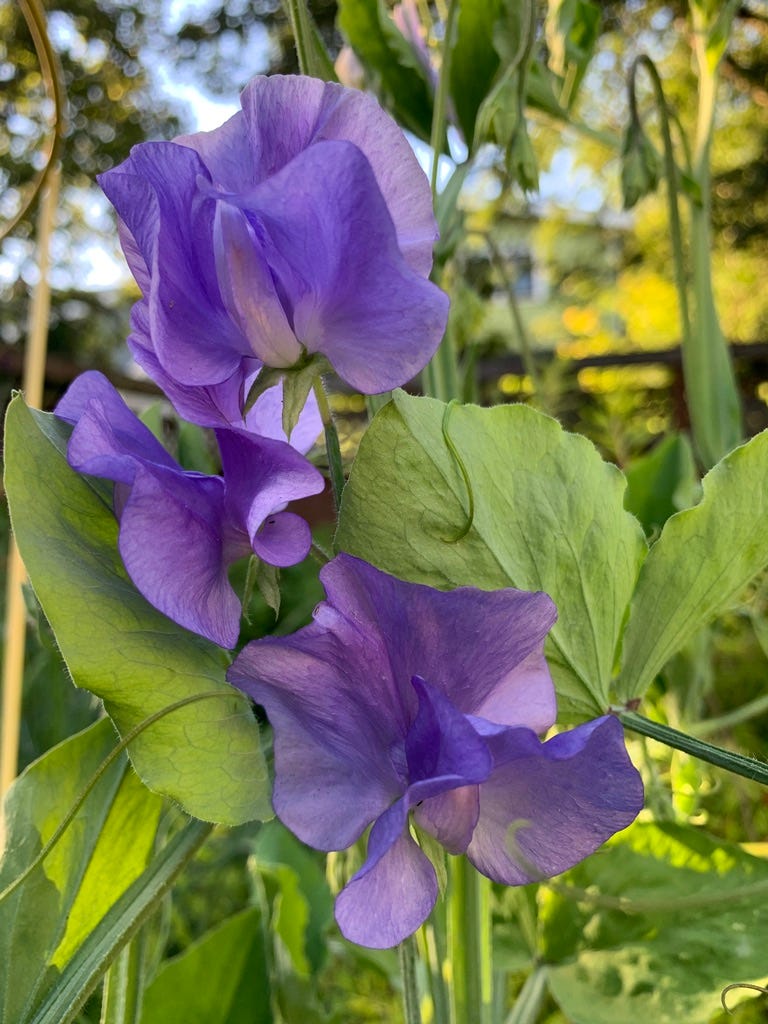
It’s been about a month since I planted the first week of January, and the Nemophila (baby blue eyes, a California wildflower) came up first, followed by Bellis perennis (English daisy), and the sweet peas (Lathyrus odoratus) have just cracked their shells. (I shouldn’t be able to see them; I think they froze-thawed their way to the top, so I added more soil after checking on them.)
This technique looks a little weird because you’re using reusable containers like milk jugs, plastic bins, and produce clamshells to grow in. The results are well worth it, however. Once you’ve tried it, you won’t mind your garden looking like the recycling bin exploded.
How to do it:
Containers should be translucent enough to allow you to see your hand through them and allow 4” of growing depth. Clean them very well. Next, you’ll create drainage holes on all sides using a knife, drill, or soldering iron. Remove the cap on milk jugs to allow water access.
On milk jugs, the iconic winter sowing container, you’ll cut a horizontal opening around the base leaving a 1” hinge at the handle.
Fill the base with moist potting soil, tamp down, plant seeds to the appropriate depth on the seed packet, add a tag, and close the jug. You can close the jug with waterproof tape, or punch holes on the sides to affix with zip- or twist-ties. Label on the outside with a waterproof marker or grease pencil. Labeling twice is key: ask me how I know.
Then, plant outside and wait. I place mine in partial shade near the house for easy checkups. Watch the weather, keeping the containers evenly moist. Cold is less of a concern than heat. If a heat spell hits, open containers or move into the shade.
My twist
In my small urban lot, I didn’t necessarily need entire milk jugs of one type of plant. Also, if I’m being honest, I like to experiment with all the plants of a favored group. Picking one cultivar of sweet pea to grow is just too hard. So, I drilled 25-gallon clear storage bins and planted 4” plastic pots inside. It worked really well! The only downside? I need more bins and milk jugs.